 how-to
How to Verify Custom Gift Quality: A Step-by-Step Guide
Table of Contents
- What You'll Need Before You Start
- Step 1: Evaluating Photo Resolution for Custom Gifts
- Step 2: Questions to Ask Custom Gift Sellers Before Ordering
- Step 3: Reviewing Proof Approval and Digital Proofing Standards
- Step 4: How to Verify Custom Gift Quality Through Material and Craftsmanship Checks
- Step 5: Confirming Logo Placement, Color Accuracy, and Spelling
- Step 6: What Personalized Gifts That Look Expensive Have in Common
- Step 7: Post-Purchase Quality Audit and Return Policies
- Frequently Asked Questions
Last Updated: September 18, 2026
What You'll Need Before You Start
You can't judge a custom gift from a product photo alone. Learning how to verify custom gift quality starts before you order, not after the box arrives.
Here's what to gather first:
- High-resolution photos (300 DPI or higher)
- A vector file (SVG, EPS, or PDF) if you have a logo
- Exact spelling of every name, date, and message
- Your deadline and the seller's stated lead time
- The return and refund policy, saved for your records
Get these ready, and every step below gets easier.
Step 1: Evaluating Photo Resolution for Custom Gifts
Photo resolution decides whether your gift looks sharp or blurry. A low-resolution image may look fine on your phone but falls apart when printed or engraved. Most print shops want 300 DPI at the final print size, a photo that's 300 DPI at 2 inches wide is only 75 DPI at 8 inches wide.
Checking DPI and File Format Requirements
Open your image file's properties to check its pixel dimensions. Multiply the width in pixels by 300, then divide by the target print width in inches; under 300 means the file is too small. A 1200-pixel-wide photo at 4 inches gives 300 DPI; at 8 inches, just 150 DPI.
Common file formats and what they're good for:
- JPEG: fine for photos, but compresses and loses detail
- PNG: better for graphics with sharp edges
- PDF: ideal for documents and logos
- SVG/EPS: vector formats, perfect for engraving
Why Vector Files Matter for Engraving and Print
Vector files use math instead of pixels, so they scale to any size without losing sharpness, critical for engraving, where a jagged edge shows up permanently in metal or glass. If you only have a JPEG logo, ask the seller to convert it; the result won't match a true vector, so when in doubt send both and let the seller pick.
Step 2: Questions to Ask Custom Gift Sellers Before Ordering
The right questions separate a careful maker from a rushed one. Ask before you pay:
- What file format and DPI do you need?
- Will I see a proof before you start production?
- What's your exact lead time, and does it include shipping?
- What's your return policy if the gift arrives damaged or wrong?
- Do you make this in-house or outsource it?
- Can you show me photos of past work in this material?
Step 3: Reviewing Proof Approval and Digital Proofing Standards
Proof approval is your last chance to catch a mistake before it's permanent, so never skip it. A digital proof shows exactly how your gift will look, layout, font, spelling, and color.
When you review a proof, check these:
- Every name and date, letter by letter
- Font size and spacing
- Logo placement and size
- Color accuracy against your original file
- The overall layout and balance
Step 4: How to Verify Custom Gift Quality Through Material and Craftsmanship Checks
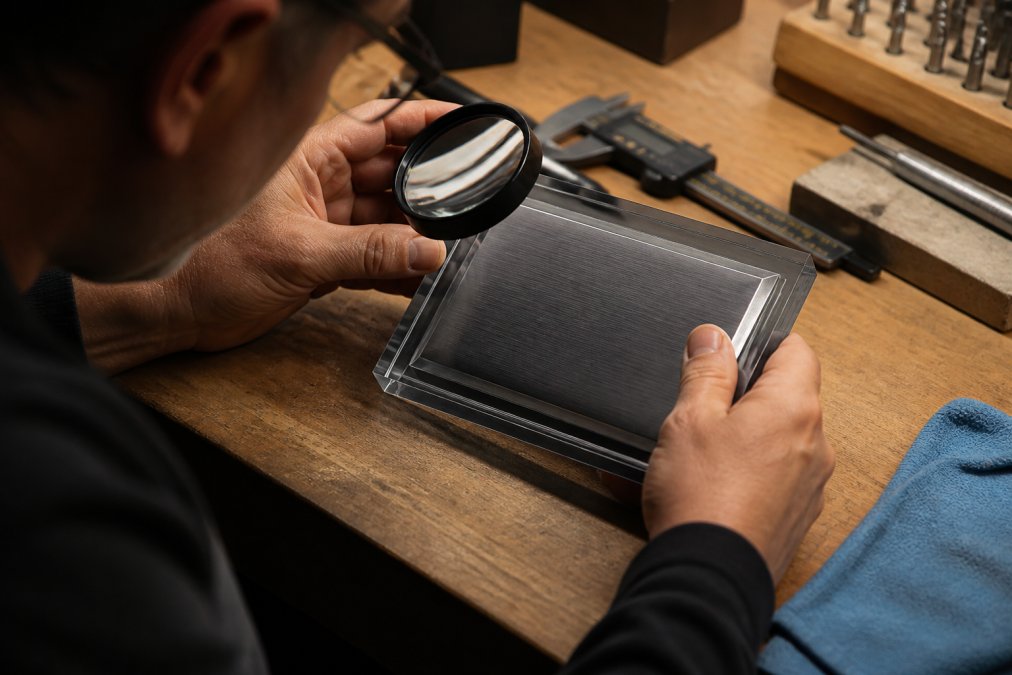
Material and craftsmanship are where custom gifts either feel special or cheap. You can't touch the product before it ships, but you can ask the right questions and inspect it on arrival.
Physical Material Testing and Durability Checks
When the gift arrives, do a quick physical check:
- Run your finger along the engraving. It should feel clean, not rough or shallow.
- Check the weight. A solid piece feels substantial in your hand.
- Look for scratches, bubbles, or uneven coloring.
- Test any moving parts, like a clasp or hinge.
- Check the edges for sharp spots or rough finishing.
If something feels off, photograph it right away. Good sellers want to fix problems, but they need evidence.
Step 5: Confirming Logo Placement, Color Accuracy, and Spelling
Color and placement errors are the sneakiest quality problems: they look fine at a glance but feel wrong once noticed. Most guides never explain why screen color rarely matches the finished gift, so shoppers approve proofs they shouldn't.
Why Your Screen Color Won't Match the Finished Gift
Screens display images in RGB by adding light; printers, engravers, and embroidery machines work in CMYK by subtracting light from white paper or fabric. These models cover different ranges, called gamuts, and some vivid RGB colors, bright oranges, neon greens, deep saturated blues, simply cannot be reproduced in CMYK. Conversion picks the closest printable equivalent, often noticeably duller.
A few practical consequences:
- Uncalibrated monitors lie. Two screens side by side can show the same file with a visible color difference. Unless your display has been calibrated with a hardware colorimeter, treat what you see as an approximation.
- Substrate changes everything. The same ink looks different on coated paper, uncoated kraft, brushed metal, dark walnut, and clear glass, a color that reads warm on cream paper can read muddy on gray metal.
- Engraving and etching aren't ink. Laser engraving removes or darkens material, so the "color" is really the contrast between the engraved area and the surrounding surface. You can't Pantone-match an engraving the way you can a print.
- Thread and vinyl have their own palettes. Embroidery thread and adhesive vinyl are sold in fixed color libraries, so a shop can only match your brand color as closely as its closest stocked shade allows.
How to Review Color on a Proof
When the seller sends a digital proof, don't judge color on your phone in a dark room:
- Open the proof on a desktop monitor in neutral daylight, not warm overhead bulbs.
- Ask whether the proof is RGB or CMYK, and whether it's a true soft proof (a simulation of the final output) or just a screen preview.
- If exact color matters, a brand color, a wedding palette, a school color, ask for a Pantone (PMS) number and confirm the shop can hit it. If they can't, ask for the closest achievable match and decide whether that's acceptable before you approve.
- For engraving, ask for a photo of a past piece in the same material rather than trusting a digital mockup, which always looks cleaner and more contrasty than the real thing.
- If color is critical, request a physical pre-production sample or small test piece. It costs more and adds lead time, but it's the only way to see the true result.
Checking Logo Placement and Spelling
Placement errors are easier to catch than color errors because they're binary, centered or not, level or tilted, sized as approved or not.
- Logo placement: Confirm it's centered on the intended axis, level with the item's edges, and scaled to the approved proof. On curved surfaces like tumblers or ornaments, ask how the shop accounts for wrap distortion.
- Spelling: Read every word out loud, slowly, then backward. Names, dates, and apostrophes are the usual casualties. Check capitalization and punctuation against the source you provided, not your memory.
- Fonts: Confirm the exact typeface, weight, and any special characters (accents, ampersands in script fonts) render correctly.
Step 6: What Personalized Gifts That Look Expensive Have in Common
Personalized gifts that look expensive share a few budget-friendly traits: quality materials, clean sharp edges, even coloring, deep and precise engraving or print, considered packaging, and a simple rather than busy design. A busy design hides flaws; a clean one exposes them, which is why careful makers keep things simple. Price doesn't guarantee quality, attention to detail at every step does.
Step 7: Post-Purchase Quality Audit and Return Policies
A post-purchase quality audit is a structured inspection you run the moment the gift arrives, using your approved proof as the reference. It protects you if something is wrong and gives you a defensible evidence trail for a claim. Here's the actual sequence.
The Delivery-Day Audit, in Order
Do these steps in this order, before you wrap or gift the item:
- Unbox slowly and keep everything. Save the outer box, inner packaging, packing slip, and inserts, some carriers and sellers require original packaging for a damage claim.
- Photograph the sealed box first. If the outer box shows crushing, punctures, or water damage, photograph it before opening; that's your evidence damage happened in transit, not in your hands.
- Photograph the item from multiple angles in daylight, front, back, both sides, top, bottom, and a close-up of any engraving, print, or embroidery.
- Lay the item next to your approved proof and compare side by side. Check spelling, font, logo placement, size, and color, and photograph the two together.
- Inspect the material against what was promised. If the listing said solid walnut and the piece feels like veneered particleboard, that's a material mismatch, not a matter of taste.
- Check for defects: scratches, bubbles under a coating, uneven staining, loose hinges or clasps, frayed embroidery, chipped edges, or a wobbly base.
- Test function if applicable. Open and close the clasp, wind the watch, unfold the blanket, plug in the lamp. A gift that fails on day one will fail on the recipient too.
- Note the date and time you received it. Return windows are usually counted from delivery, not order date.
Defect Claim vs. Change-of-Mind Return
These are two different processes, and mixing them up costs shoppers money.
Before you order, confirm in writing:
- The exact return window (in days) and whether it starts at order date or delivery date
- Who pays return shipping on a defect
- Whether the seller remakes or refunds, and how long a remake takes
- Whether personalized items are excluded from returns, and under what exceptions
- The process for filing a claim, email, portal, photo requirements
Your Rights as a Buyer
For guidance on your rights as a buyer, the FTC's consumer advice on shopping rights explains what sellers must disclose about refunds, shipping timelines, and the right to cancel. It's worth a quick read before you order anything custom.
If Something Is Wrong
Contact the seller within the stated window, in writing, with photos and your approved proof attached, and state plainly what was promised and what arrived. If the seller stalls, escalate in writing, then consider a chargeback through your card issuer, but only after giving them a documented chance to fix it.
Frequently Asked Questions
What should I look for in the material quality of a personalized gift?
Ask the seller what material the gift is made from and how it holds up over time. For engraved items, check that the engraving depth is consistent and not shallow. For printed items, ask whether the ink is UV-resistant and whether it will fade with regular handling.
How can I tell if a custom gift website is reputable?
Look for real customer feedback with photos, not just star ratings. Read the shipping and return policies in full. Ask directly whether they handle production in-house or outsource it. A reputable seller will answer questions about lead times, proof approval steps, and what happens if the final product does not match the approved proof. Vague answers or missing policy pages are red flags.
How do I verify the durability of personalized engravings or prints?
If you already have the item, check for uneven depth, smudging, or fading around the edges of the design.
What are the red flags when ordering custom-made products?
Watch for sellers who do not offer a proof approval step before production. Be cautious if they cannot explain their material sourcing or lead times clearly. Missing return policies, no real customer photos, and prices that seem too low for the stated materials are warning signs.